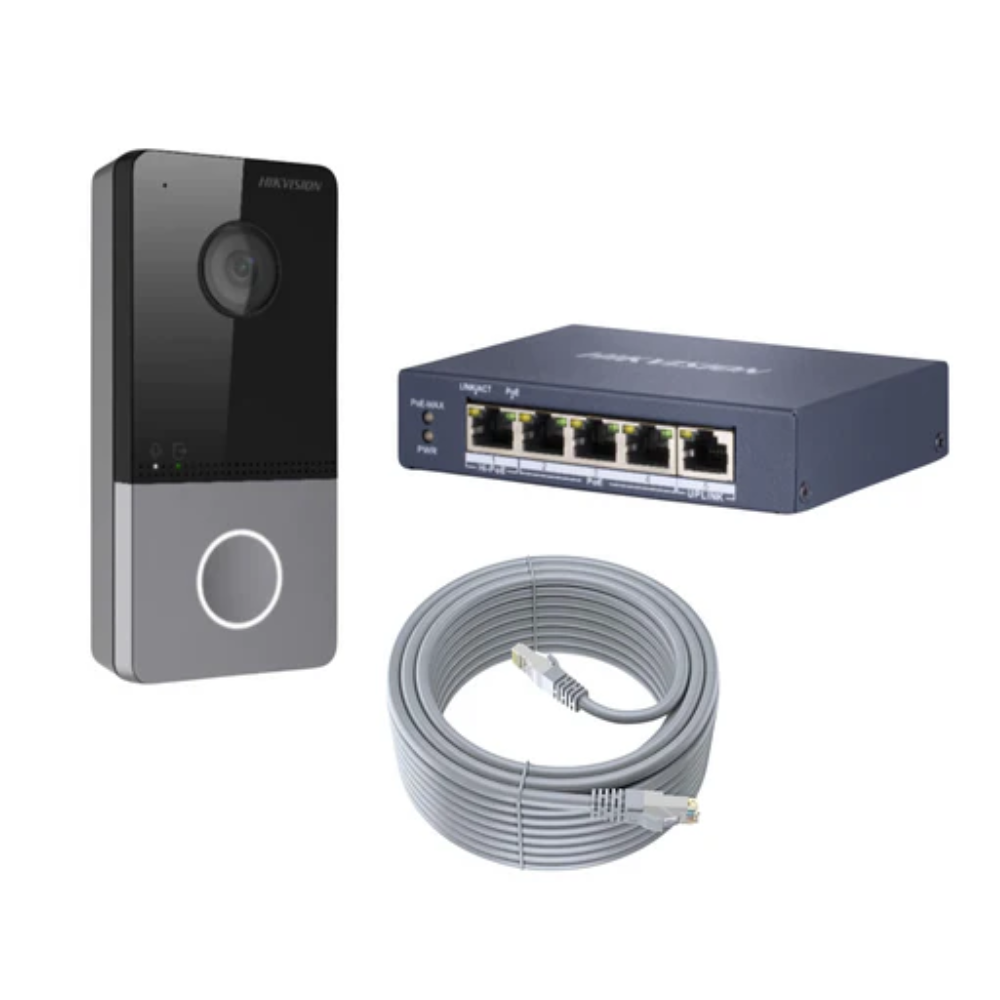
Hikvision Doorbell Video Intercom Door Station Easy Install Kit - Basic Setup Guide
Share
Hikvision Video Intercom Doorbell DS-KV6113-WPE1(C) Basic Setup Guide
Plug the supplied 20m Ethernet cable into the back the Hikvision doorbell, then plug it into the supplied (POE) network switch in turn the network switch needs to plugged into your current internet router/switch with a smaller ethernet cable (not supplied)
Download and install the SADP tool
Open the SADP tool and activate the doorbell, it will show as inactive (note: if connecting to an Hikvision NVR use the camera activation password you have used on the NVR)
Once activated Enable DHCP in the SADP tool by clicking the DHCP button then inserting the password (just setup) and click modify, this will allow the doorbell to pickup an IP address from your existing router.
Now we need to login to the GUI using the IP Address just set by typing said IP address into a browser i.e 192.168.1.100 the hikvisoon doorbell login page should now open, you need to login using admin as the username and then password set as above.
You should now be presented with the live view of the doorbell. We need to click the configuration tab and then on the left hand side there is a tab that says network, click this then we want advanced and then a heading tab that says platform access, we need to enable Hik connect and enter an encryption key then click save
We now need to download the Hik Connect app from your phones app store and register an account. Once this task is completed we need to add the doorbell by scanning the QR code, this can be done by pressing the the + button on the top right of the screen.
Once done press the call button on the doorbell and test the device is calling the mobile.

